


Getting Started with Jupyter Notebook for Python
- Agilytics

- Feb 24, 2020
- 4 min read
Updated: Feb 25, 2020
Jupyter Notebook is a web application that allows you to create and share documents that contain:
1. Live code (e.g. Python code)
2. Visualizations
3. Explanatory Text (written in markdown syntax)
Jupyter Notebook’s ability to combine code, visualizations and rich text and the fact that you can share your notebook with the community, makes it suitable for performing data analysis in real time and adding a story telling aspect to your analysis.
We will help you in installing Jupyter Notebook for programming in Python and explore the basic functionality of Jupyter Notebook.
Let’s get started and install Jupyter Notebook on your computer.
Setting-up Jupyter Notebook
The first step to get started is to visit the project’s website.

Here you’ll find two options: 1. Try it in your browser 2. Install the Notebook
In the first option, Try it in your browser you can access a hosted version of Jupyter Notebook. This will get you direct access without needing to install it on your computer.
The second option, Install the Notebook will take you to another page which gives you detailed instructions for the installation.
There are two different ways:
--> Installing Jupyter Notebook by using the Python’s package manager pip
--> Installing Jupyter Notebook by installing the Anaconda distribution
Especially if you are new to Python and would like to set up your development environment from scratch using the Anaconda distribution is a great choice. If you follow the link to the Anaconda download page you can choose between installers for Windows, macOS, and Linux.
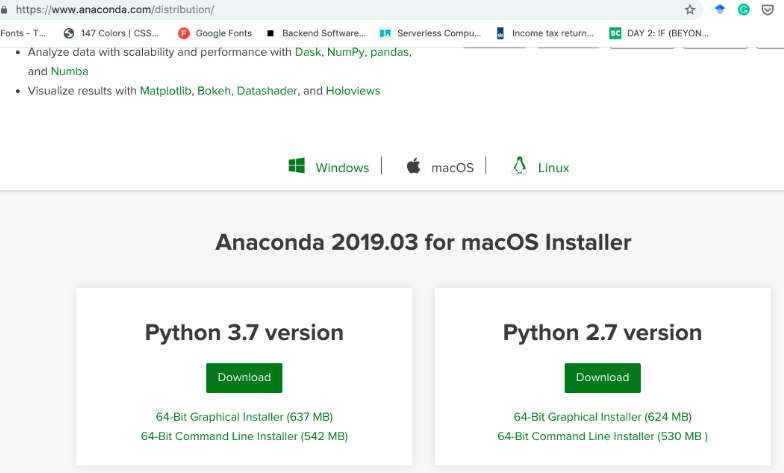
Go for Installers with Python version 3.x as Python 2 is soon going to be deprecated.
Managing Python version on the Jupyter Notebook
If you already have jupyter installed with a version lower than 3.7 you can create a new kernel with pby executing the following commands on the conda prompt.
Start->Anaconda3->Anaconda Prompt
Once you are in the prompt, execute the following commands.
$ conda create -n Python_3.7 python=3.7 ipykernel
This command will create a new kernel with python version 3.7.
$ activate Python_3.7
This command will activate the new Kernel.
$ pip install ipykernel
Now we’ll install the ipykernel module for our new python version.
$ python -m ipykernel install –name Python_3.7
By using this command we are installing the new kernel into Jupyter.
Uninstalling old kernels
To uninstall the old kernel we’ll run these commands in the conda prompt.
$ jupyter kernelspec list
Here you will find all the kernel installed on the jupyter notebook. Find the name of the default kernel (Mostly it is Python 3).
To uninstall the kernel we’ll run this command:
$ jupyter kernelspec uninstall <unwanted-kernel>
Creating a new jupyter notebook
Having installed the Anaconda distribution, we can now start Jupyter Notebook by using the following command.
$ jupyter notebook
You’ll see the following response on the command line.
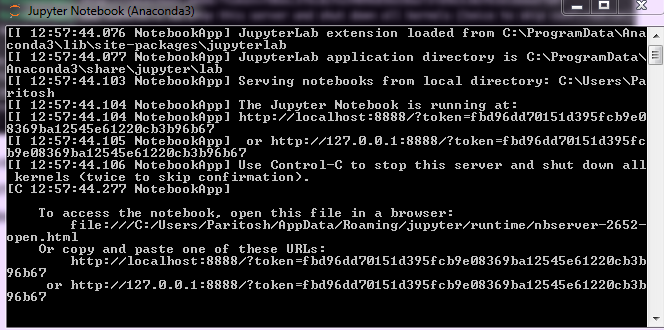
The web server is started, and the Jupyter Notebook application is opened in your default browser automatically. You should be able to see a browser output which is similar to the following screenshot.
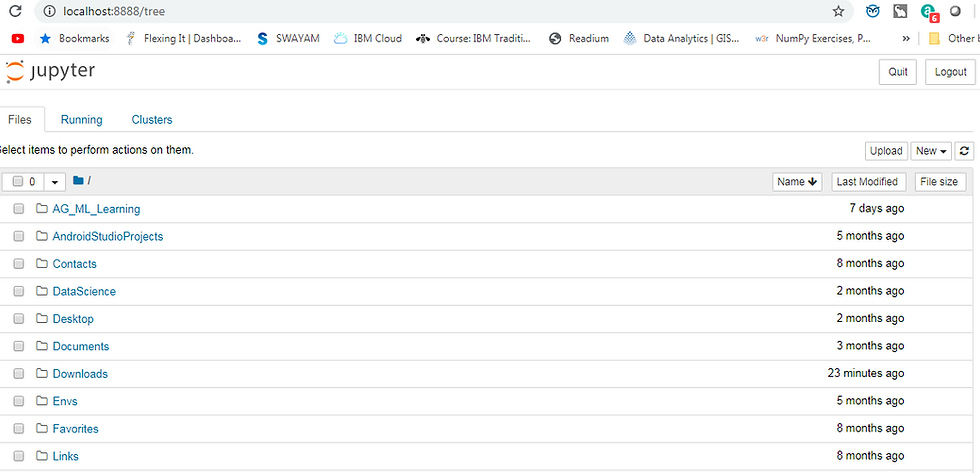
As you can see the user interface of Jupyter Notebook is split up into three sections (tabs) -
1. Files 2. Running 3. Clusters
The default view is the Files tab from where you can open or create notebooks.
Creating a new Jupyter Notebook is easy. Just use the New drop-down menu and you’ll see the following options as below.
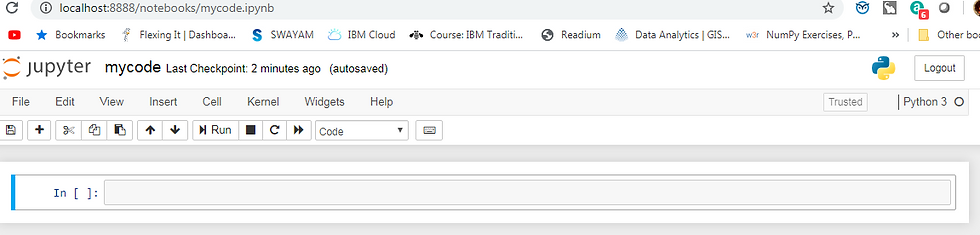
Select option Python 3 to open a new Jupyter Notebook for Python. The notebook is created, and you should be able to see something similar to the below screenshot.
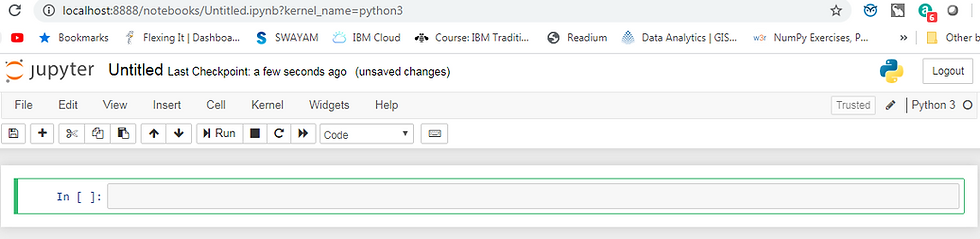
The notebook is created but still untitled. By clicking into the text Untitled on the top you can give it a name. By giving it a name, the notebook will also be saved as a file of the same name with extension .ipynb. E.g. name the notebook mycode.
Working with the Notebook
The notebook itself consists of cells. A first empty cell is already available after having created the new notebook.
This cell is of type Code and you can start typing in Python code directly. Executing code in this cell can be done by either clicking on the run cell button or hitting Shift + Enter keys.
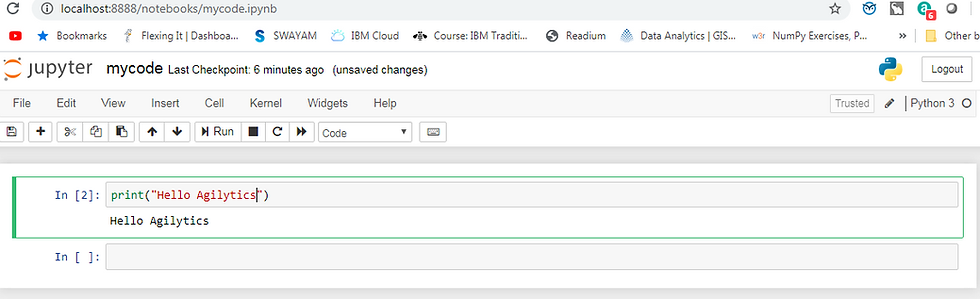
The resulting output becomes visible right underneath the cell.
Edit and Command Mode
If a cell is active, two modes can be distinguished -
1. edit mode 2. command mode
If you just click in one cell the cell is opened in command mode which is indicated by a blue border on the left.
The edit mode is entered if you click into the code area of that cell. This mode is indicated by a green border on the left side of the cell.
If you’d like to leave edit mode and return to command mode again you just need to hit ESC.
To get an overview of functions which are available in command and in edit mode, you can open up the overview of key shortcuts by using menu entry Help → Keyboard Shortcuts.
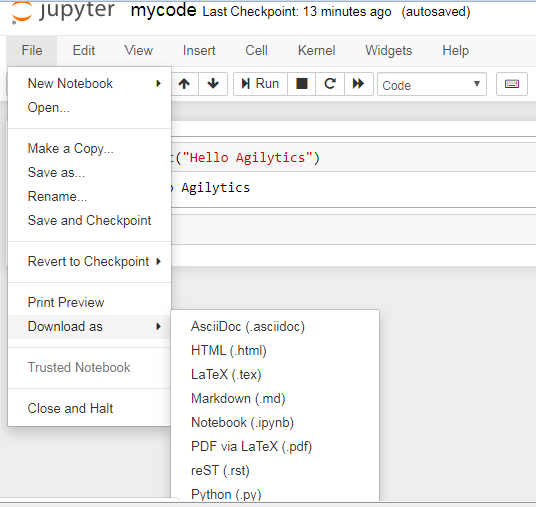
Exporting the Notebook
Jupyter Notebook gives you several options to export your notebook. Those options can be found in menu File → Download as.
This was a generic overview on Getting Started with the Jupyter Notebooks. If you are interested to learn more about Jupyter Notebooks, make sure to put them down in the comments section below.
Contact us at bd@agilytics.in to learn more.

Agilytics Training
https://www.agilytics.in/file-share